How to build a brace
Here is the method we recommend for building a complete adjustable brace from one Scroogeclamp™, a 2×4 or 2×2, and a short piece of wood.
-
Attach one bracket to a 2×4 or 2×2
Using a cordless driver drill, attach the tool with one or two quick-driving deck or drywall screws. Caution! These types of screws are brittle and must be backed up with real steel screws of the proper strength.
-
Back it up with real steel screws
Now add as many real steel screws of the proper strength as needed for the job. This takes about thirty seconds per side with a cordless driver drill.
-
Put a short piece of wood on the other end
Put a short piece of wood, 8 to 12 inches long, on the other end of the tool. This way both ends of the resulting adjustable brace can be nailed in place.
-
Nail both ends in place
Both ends attach to stud walls, posts, floors, or whatever in about ten seconds using a pneumatic nail gun.
The Scroogeclamp in use
-
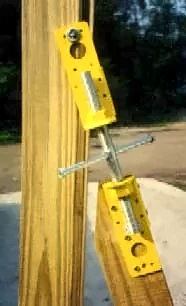
Bracket fastened to a post -
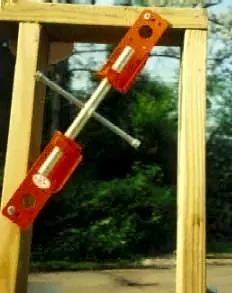
Set diagonally across a frame -
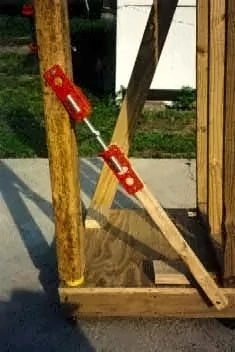
Bracing a post -

At the Ohio State Fair -
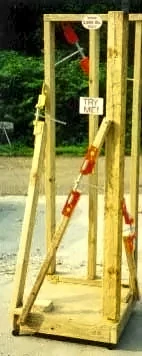
Bracing a frame